TYPE 2 BOARDS:
Volume Control Daughterboard
Replace the Remote Volume Control with a daughterboard attached directly to the sound board. No soldering required!
Here is a simple way to replace the volume control on Williams machines with type 2 sound boards. The original volume control is located in the lower cabinet which I found frustrating because I could not simultaneously adjust the volume and the sound/voice mix on my Firepower. Worse, my volume control would only work in a few positions and I'm sure the cut and spliced wiring from the back box to the lower cabinet wasn't a "factory feature".
|
Type 2 - $14 |
|
|

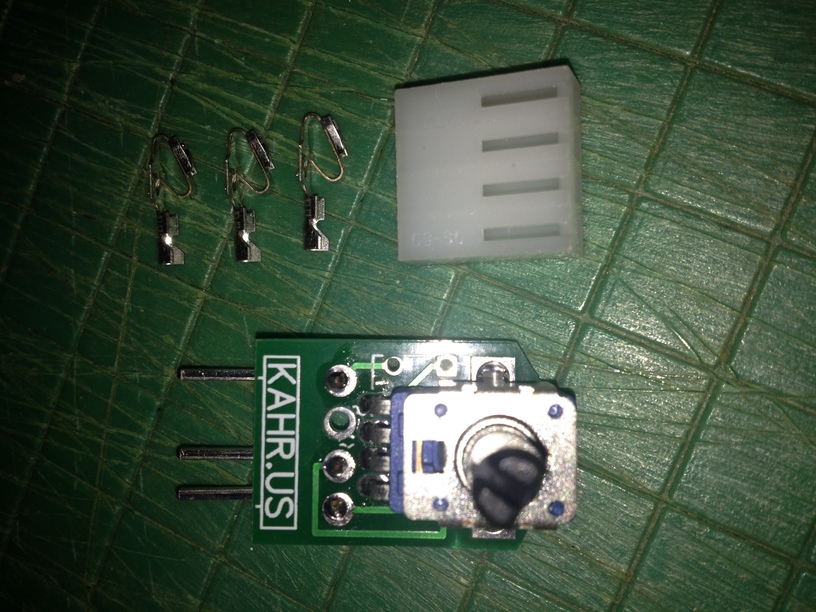
Remote Volume Control Replacement
Williams System 6 and 7 with remote volume controls (Type 2 sound boards) - use this kit to replace the lower cabinet potentiometer and still control the volume behind the coin door. Simply cut the wires off the original pot, crimp the included header on the cut wires, and attach the new potentiometer board.
|
Type 2 Remote - $16 |
|
|

Speech/Sound Mixer Replacement
Replace the Speech/Sound mixer on your speech board. Components made today simply don't fit into the physical footprint of the original part. I designed a small board that holds a potentiometer on one side and outs in the original footprint via header pins. Basic soldering skills are needed to remove the old mixer potentiometer and install the new mixer board.
|
Speech Sound Mixer - $14 |
|
|
How to install it:
1. Remove original part and solder from speech board
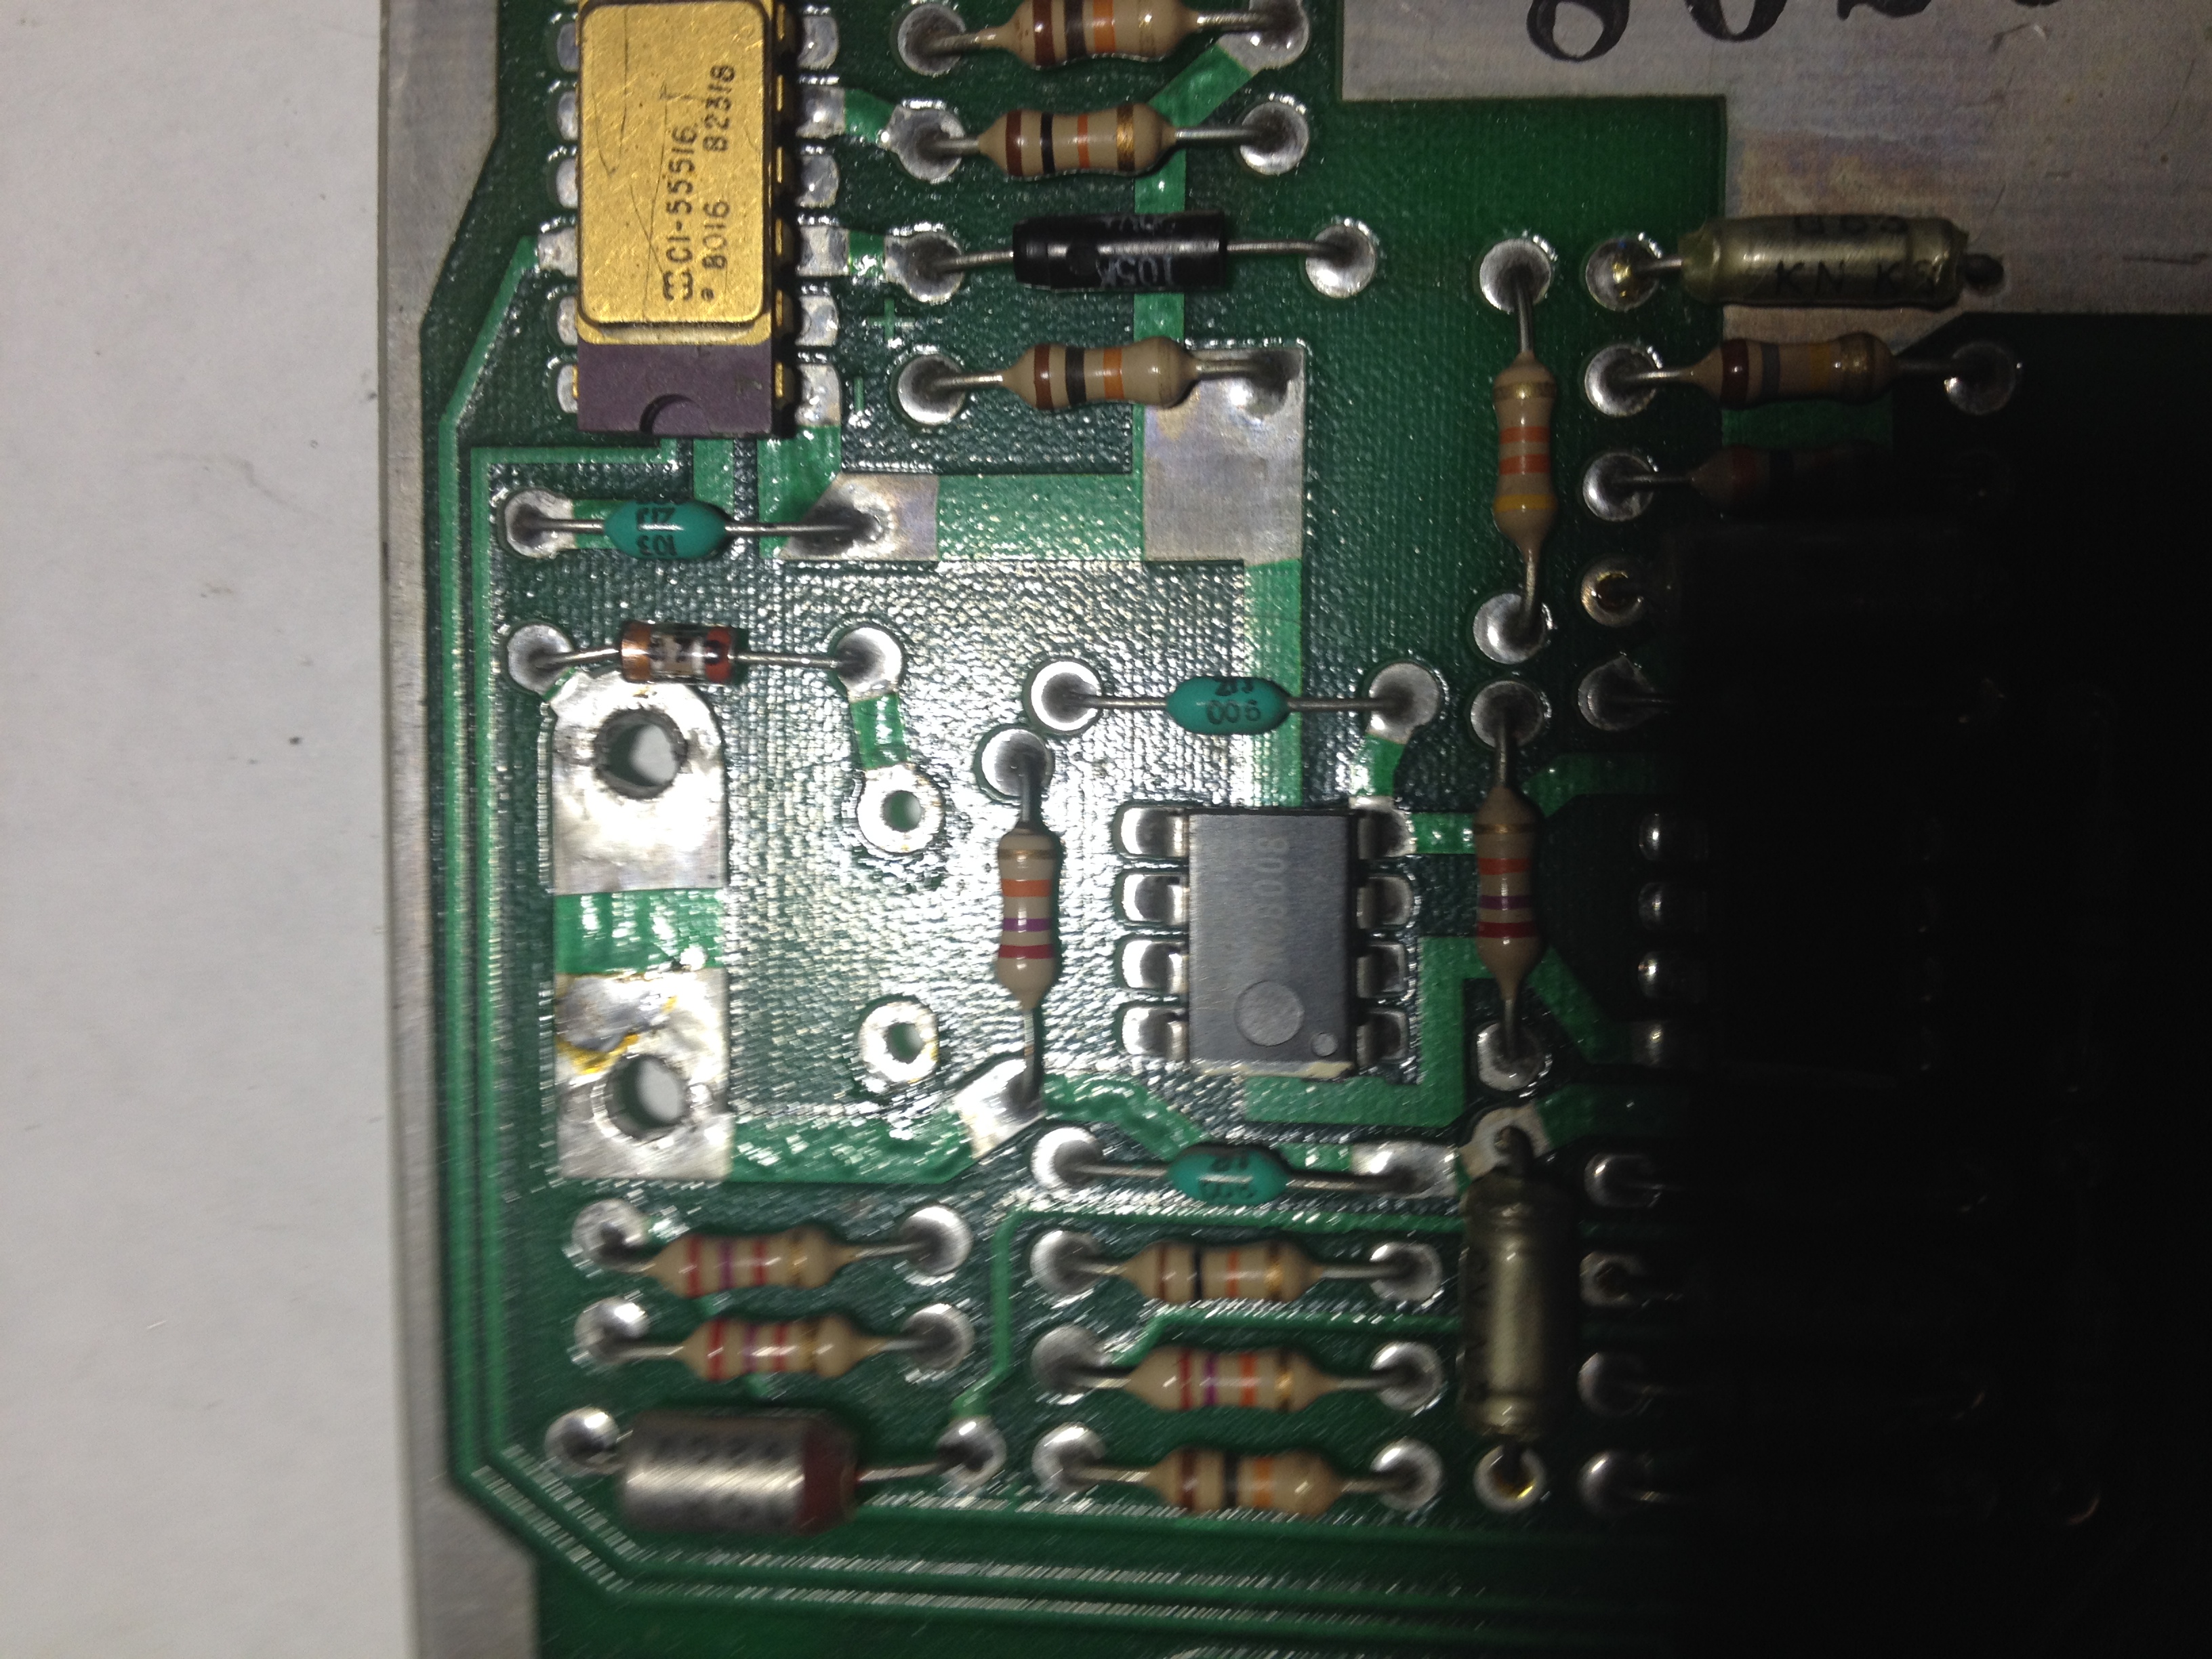
2. Align new part into speech board and solder in place
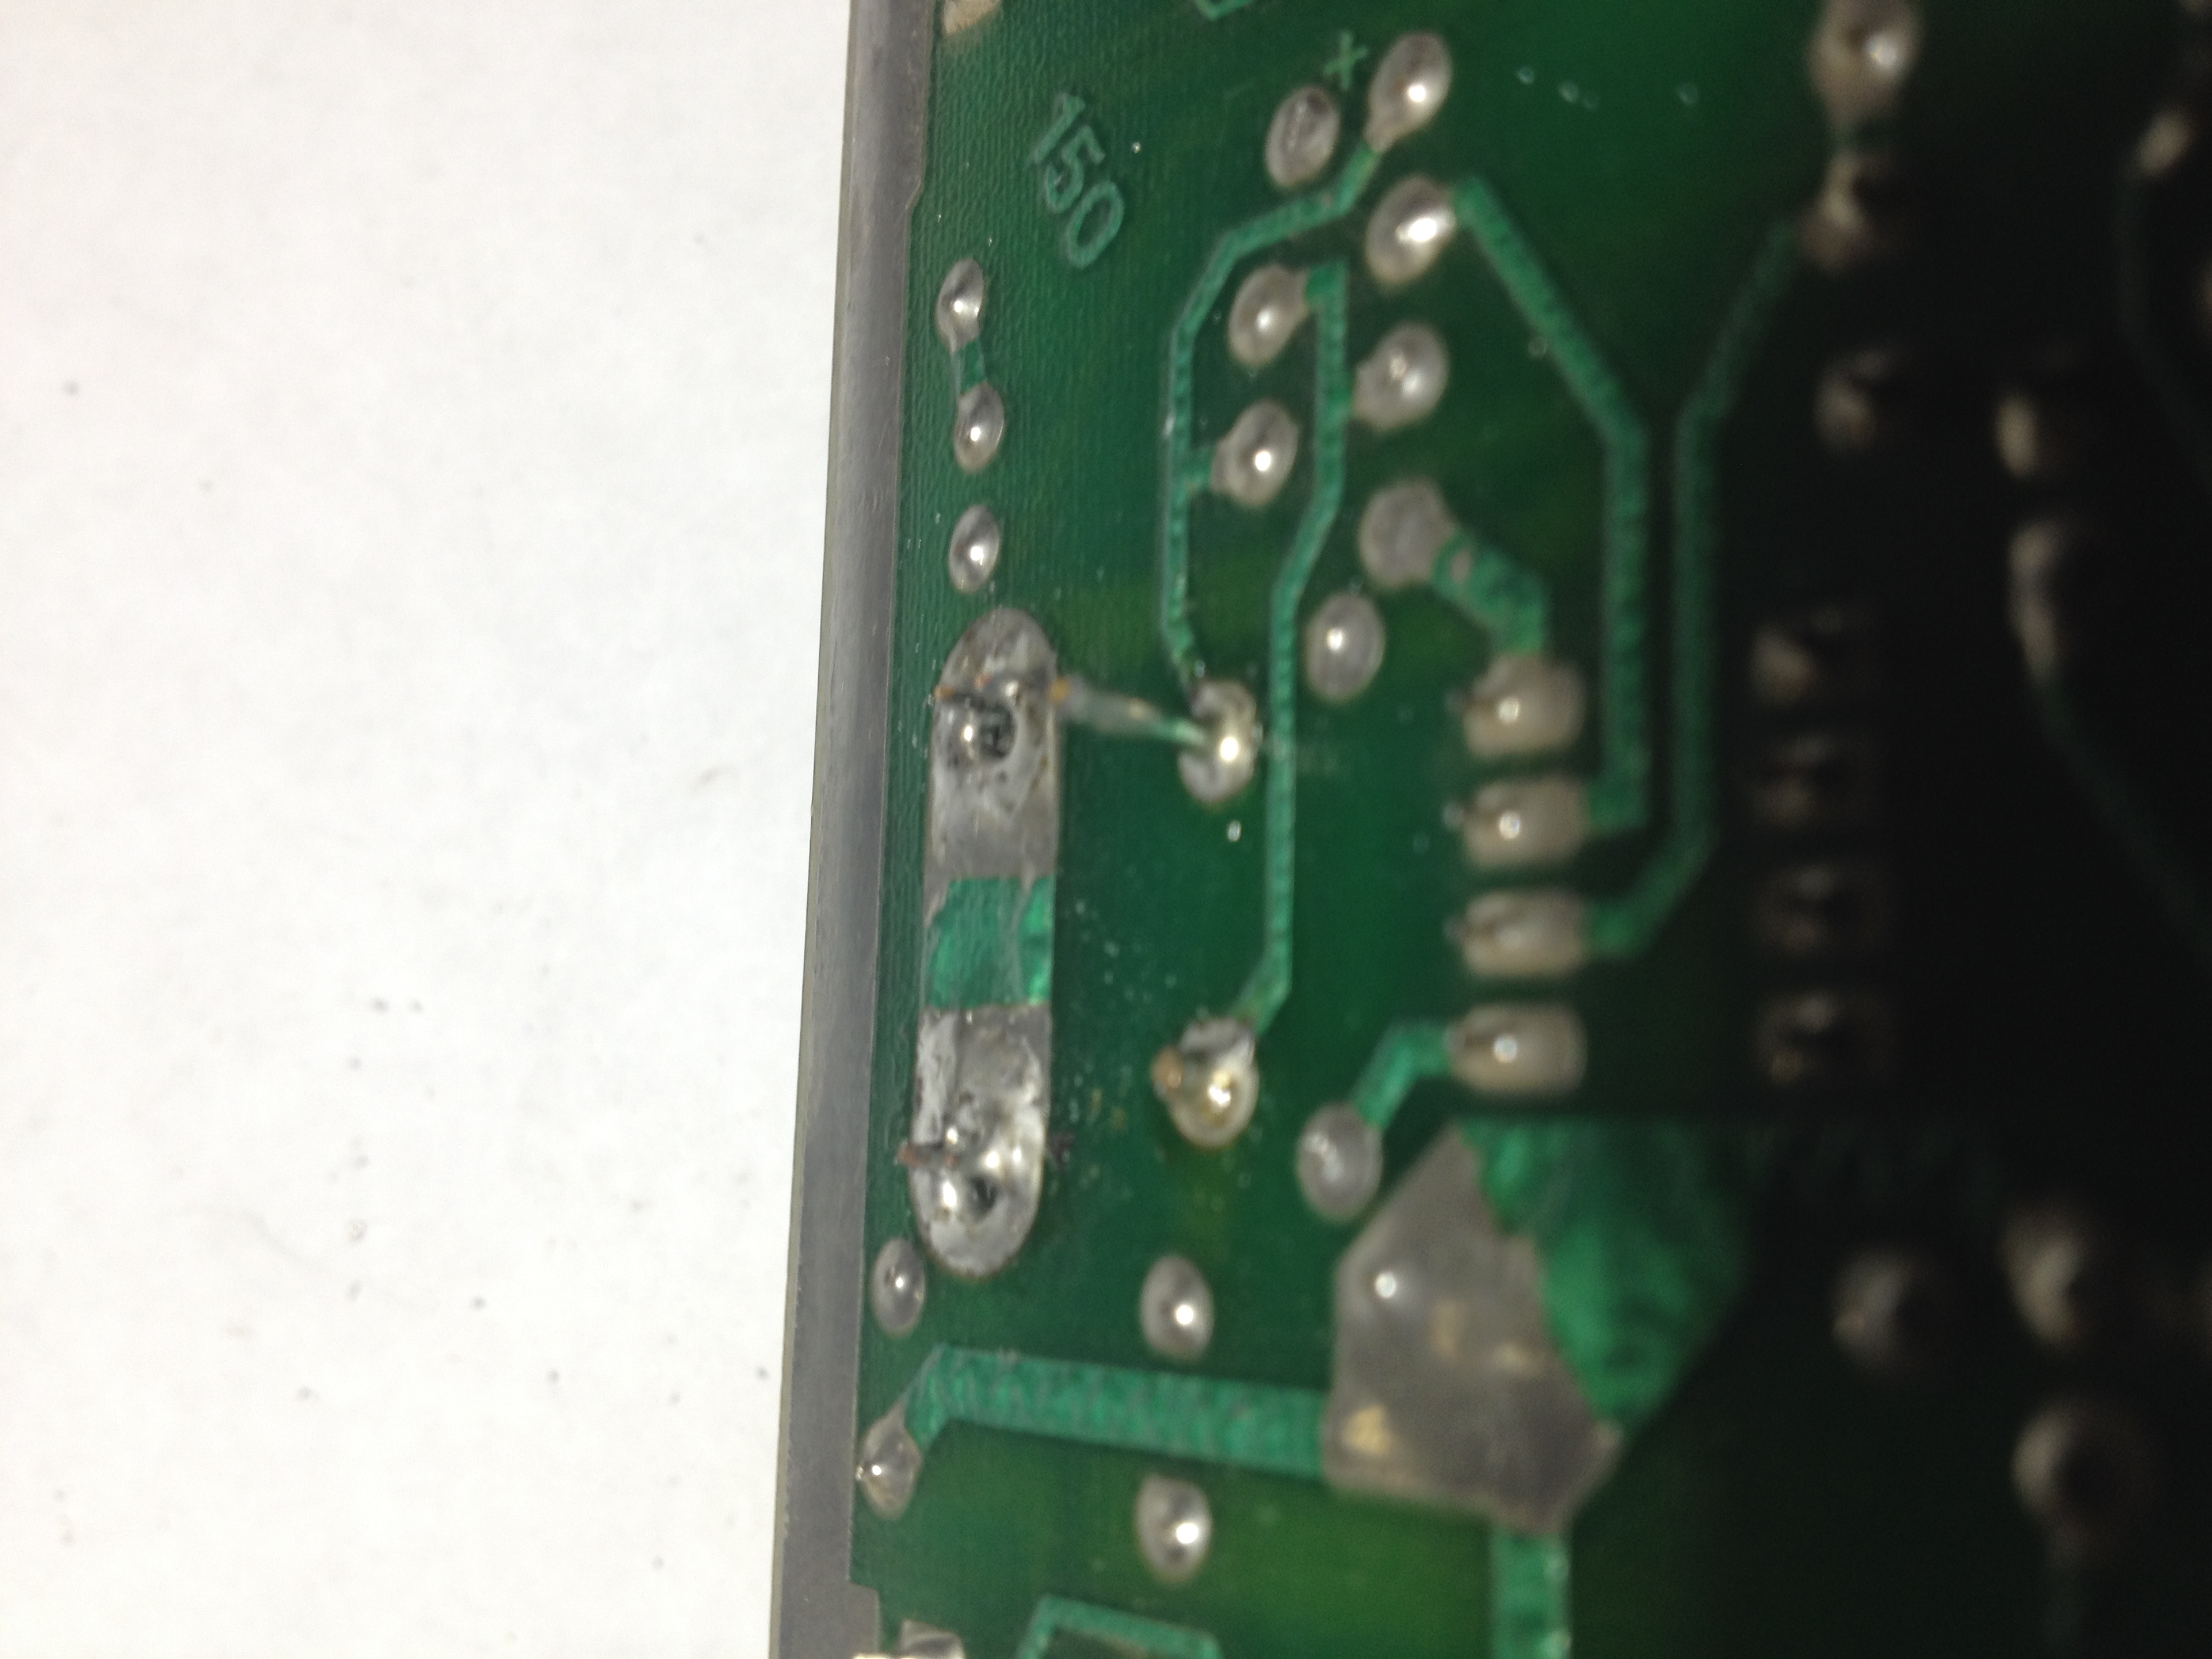
3. Cut any pins protruding more than 1/8 inch beyond the back side of the speech board (One of the two pins is already cut in the "Step 2" picture)
Replacement Regulator
Replace the linear voltage regulator on your sound board with ezSBC's efficient switching regulator. This regulator is custom built with legs to fit directly into your sound board and it will operate without a heat sink. Basic soldering skills needed for removing the old 7805 regulator and for installation.
|
Williams Regulator - $9 |
|
|
|
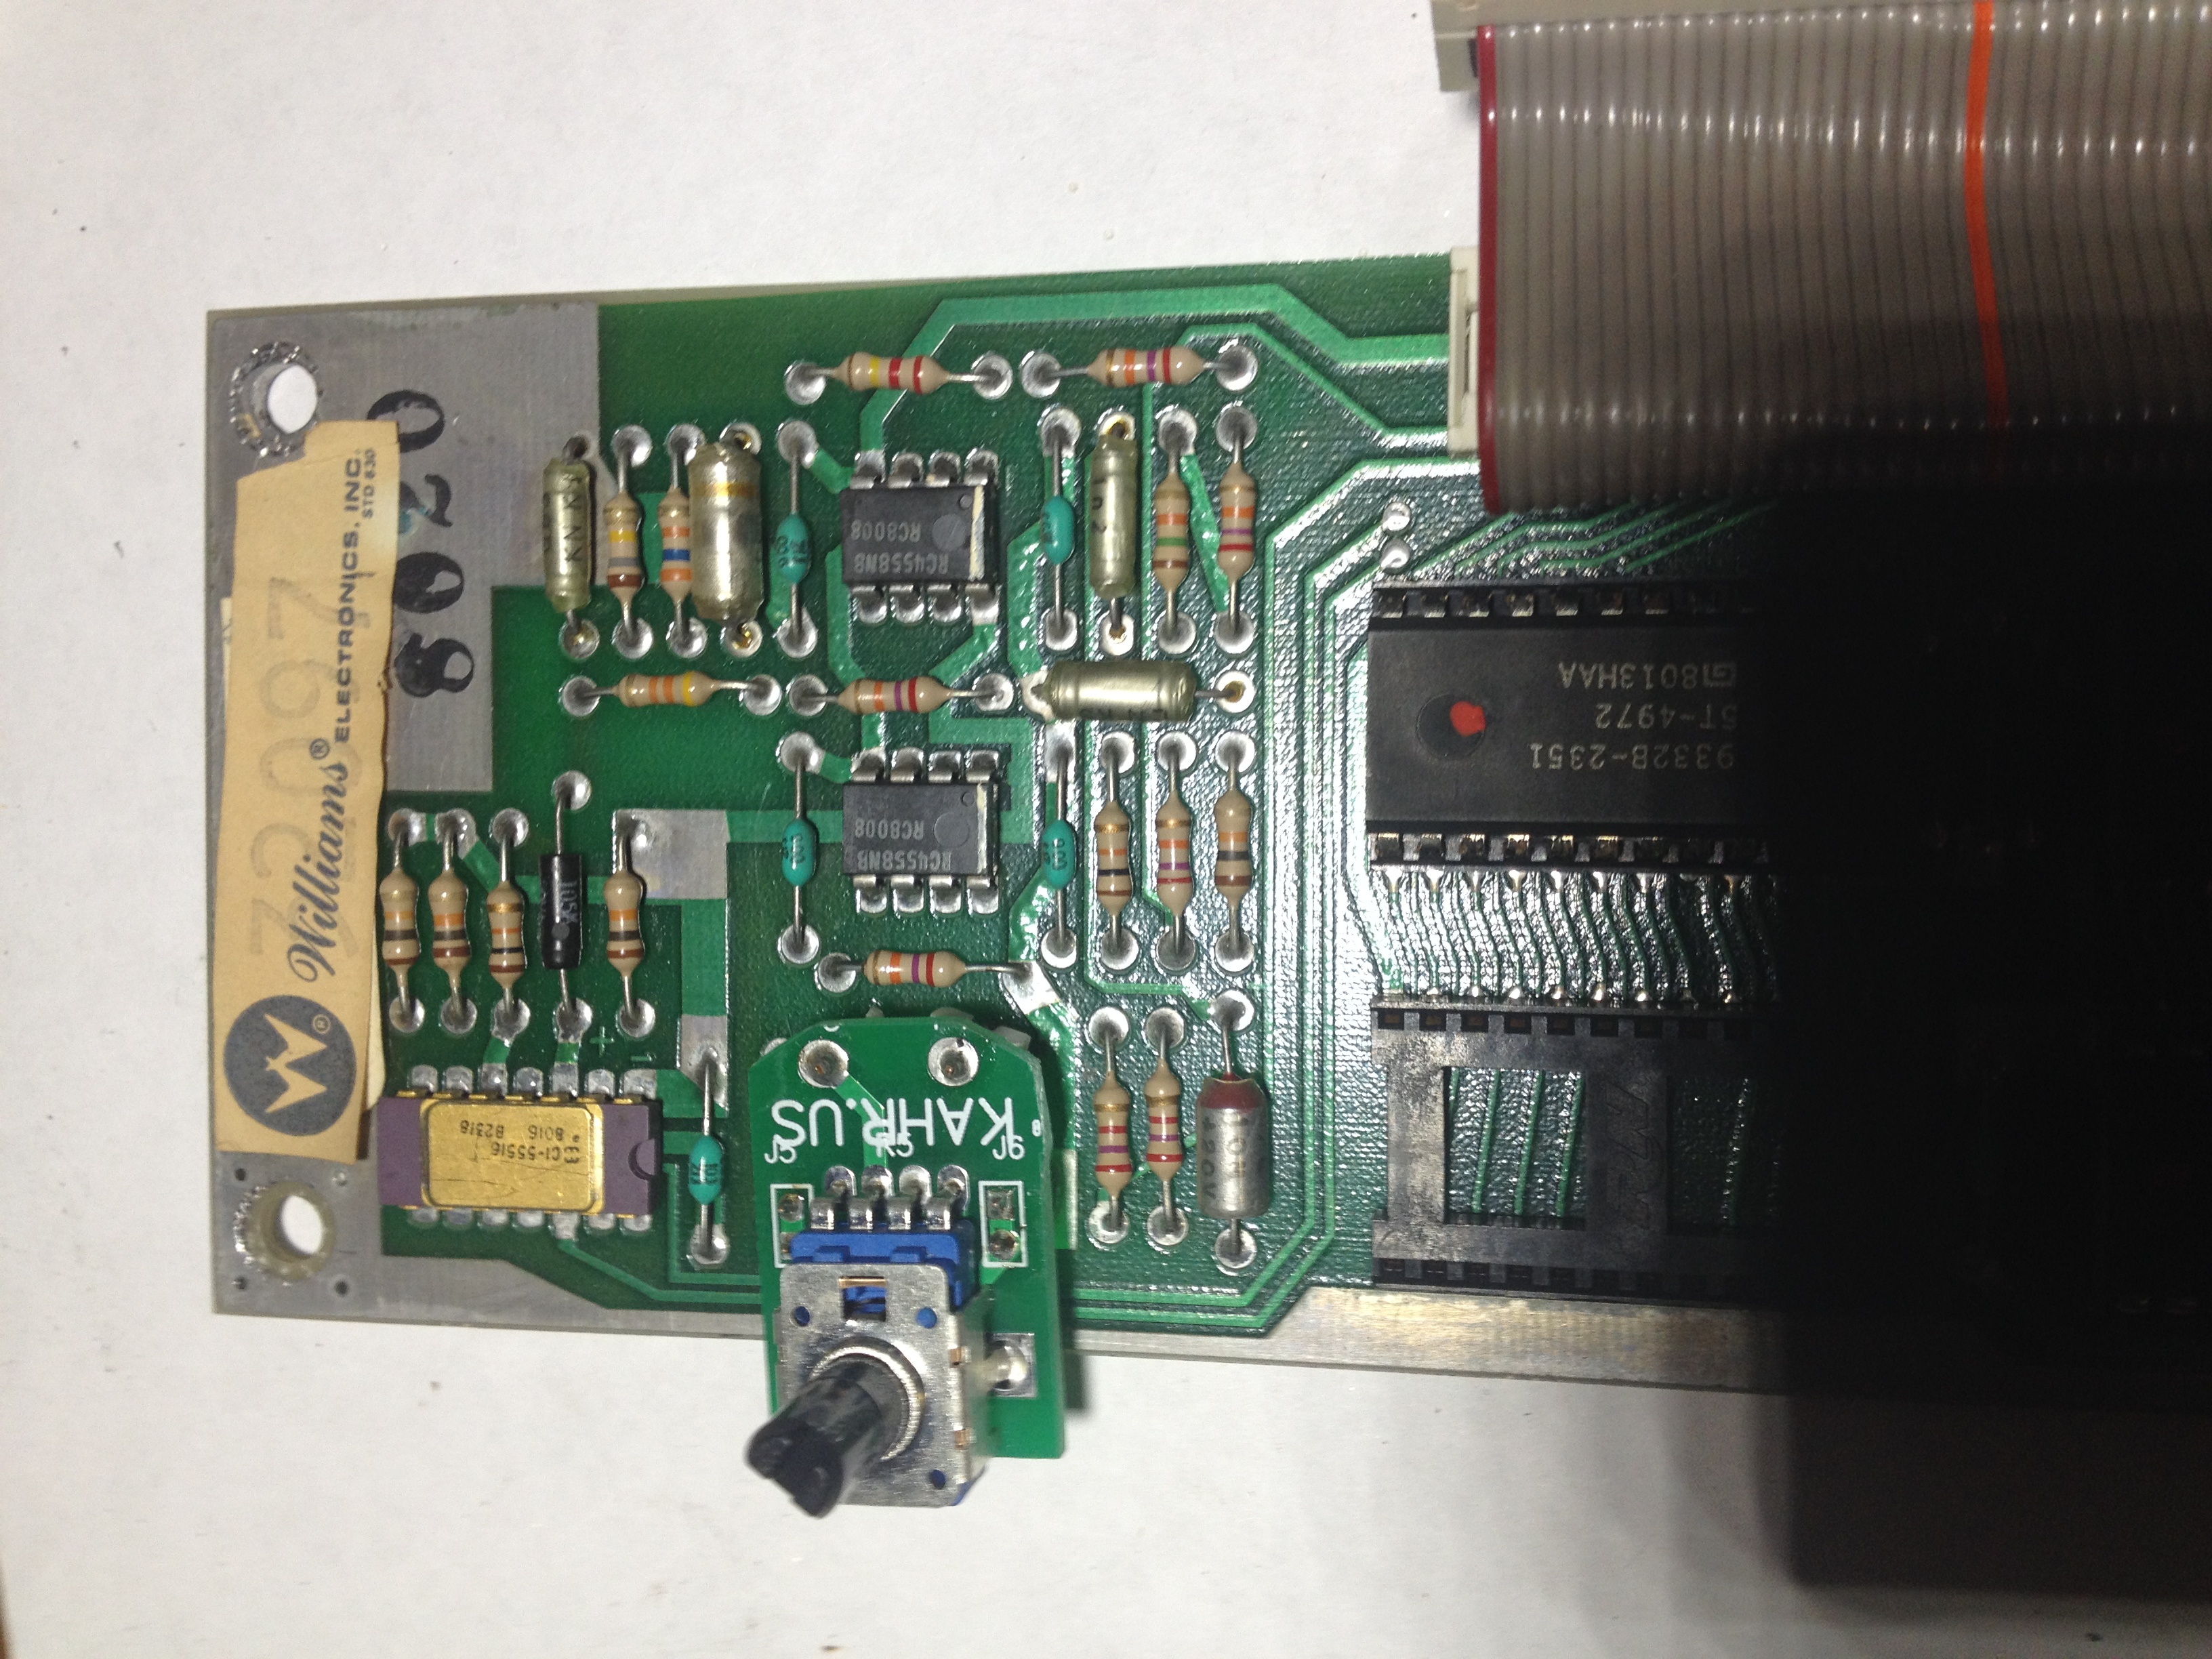
TYPE 1 BOARDS with ONE fuse:
Volume Control replacement Replace the Remote Volume Control with a daughterboard attached directly to the sound board. Basic soldering skills needed for installation.
For those Williams games with type 1 sound boards, here is a pin-compatible replacement for the original potentiometer that was soldered directly to the sound board. Components made today simply don't fit into the physical footprint of the original part. I designed a small board that holds a potentiometer on one side and outs in the original footprint via header pins. Basic soldering skills are needed to remove the old potentiometer and install the new board.
|
Type 1 with One Fuse - $14 |
|
|
How to install:
1. Remove original part and solder from sound board

(sorry, I didn't realize the photo was blurry until after I soldered in the volume control board... note the torn sticker - it is the same board)
2. Align replacement part into sound board and solder in place.
Replacement Regulator
Replace the linear voltage regulator on your sound board with ezSBC's efficient switching regulator. This regulator is custom built with legs to fit directly into your sound board and it will operate without a heat sink. Basic soldering skills needed for removing the old 7805 regulator and for installation.
|
Williams Regulator - $9 |
|
|
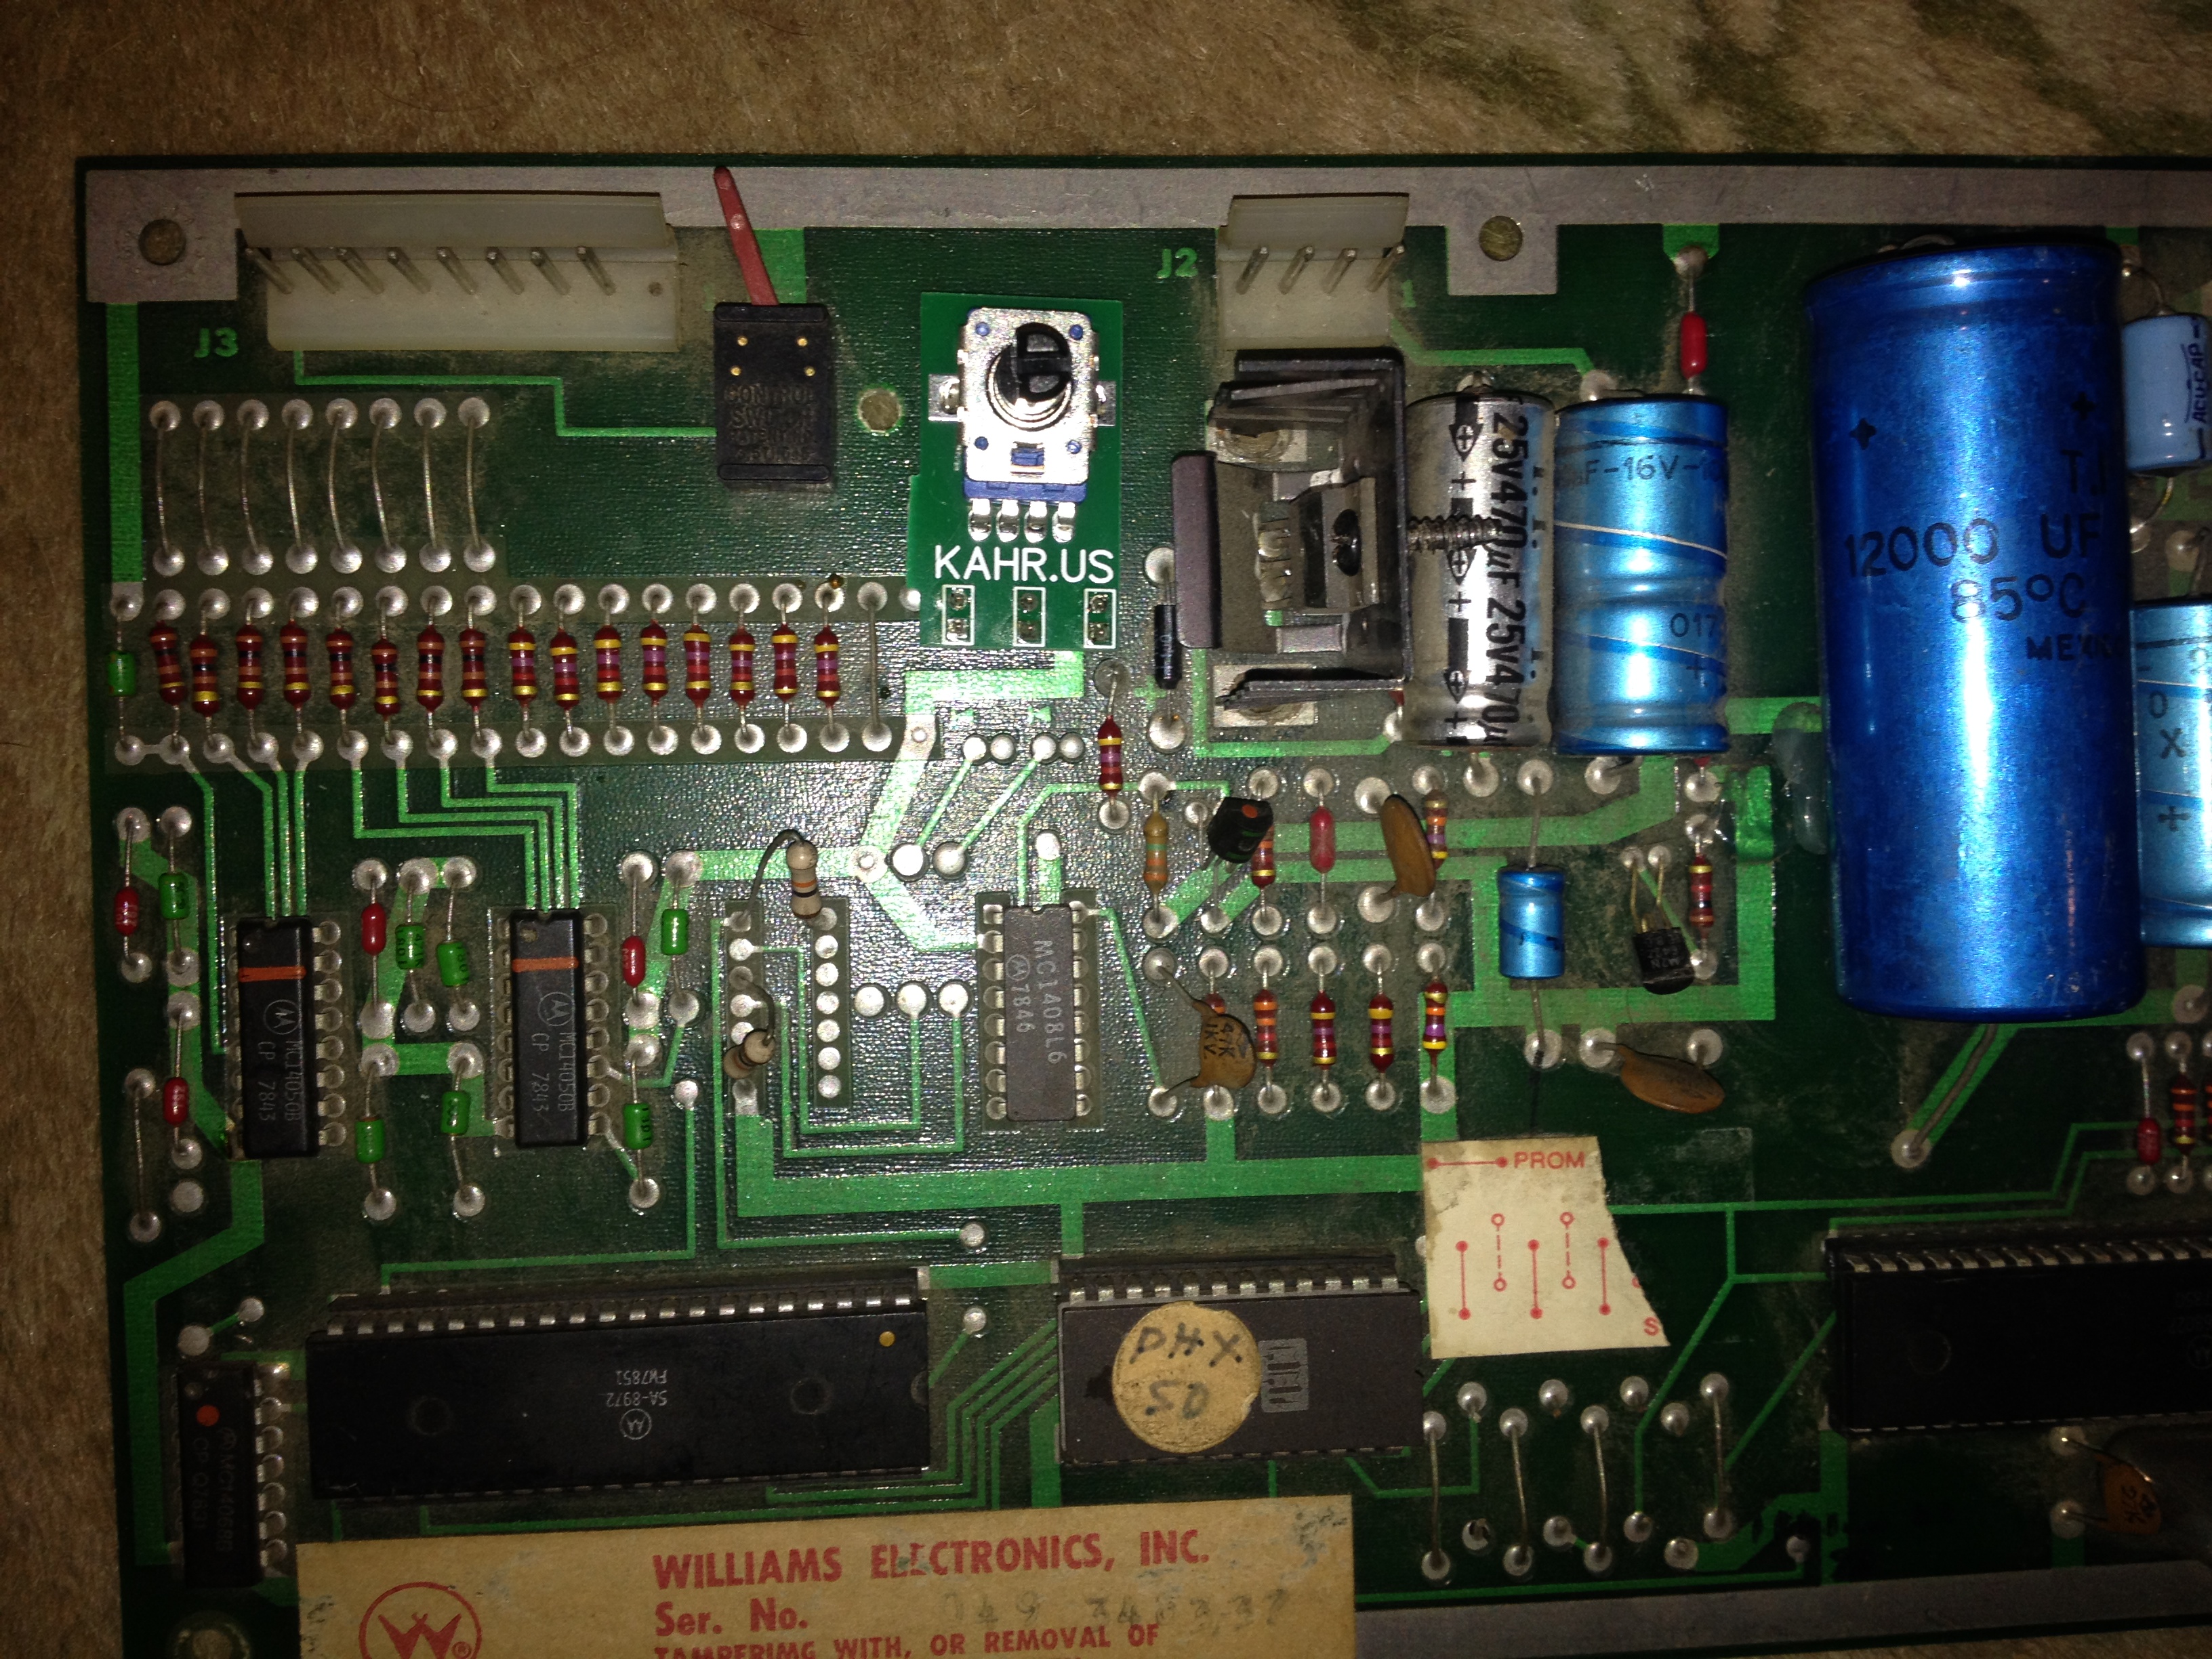
TYPE 1 BOARDS with TWO fuses:
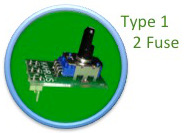
Volume Control replacement Replace the Remote Volume Control with a daughterboard attached directly to the sound board. Basic soldering skills needed for installation.
For those Williams games with type 1 sound boards, here is a pin-compatible replacement for the original potentiometer that was soldered directly to the sound board. Components made today simply don't fit into the physical footprint of the original part. I designed a small board that holds a potentiometer on one side and outs in the original footprint via header pins. Basic soldering skills are needed to remove the old potentiometer and install the new board.
|
Type 1 with Two Fuses - $14 |
|
|
Note - the pinout for One-fuse and Two-fuse boards are different so be sure to select the Volume Control that matches your sound board
Replacement Regulator
Replace the linear voltage regulator on your sound board with ezSBC's efficient switching regulator. This regulator is custom built with legs to fit directly into your sound board and it will operate without a heat sink. Basic soldering skills needed for removing the old 7805 regulator and for installation.
|
Williams Regulator - $9 |
|
|